Early wifi versions#
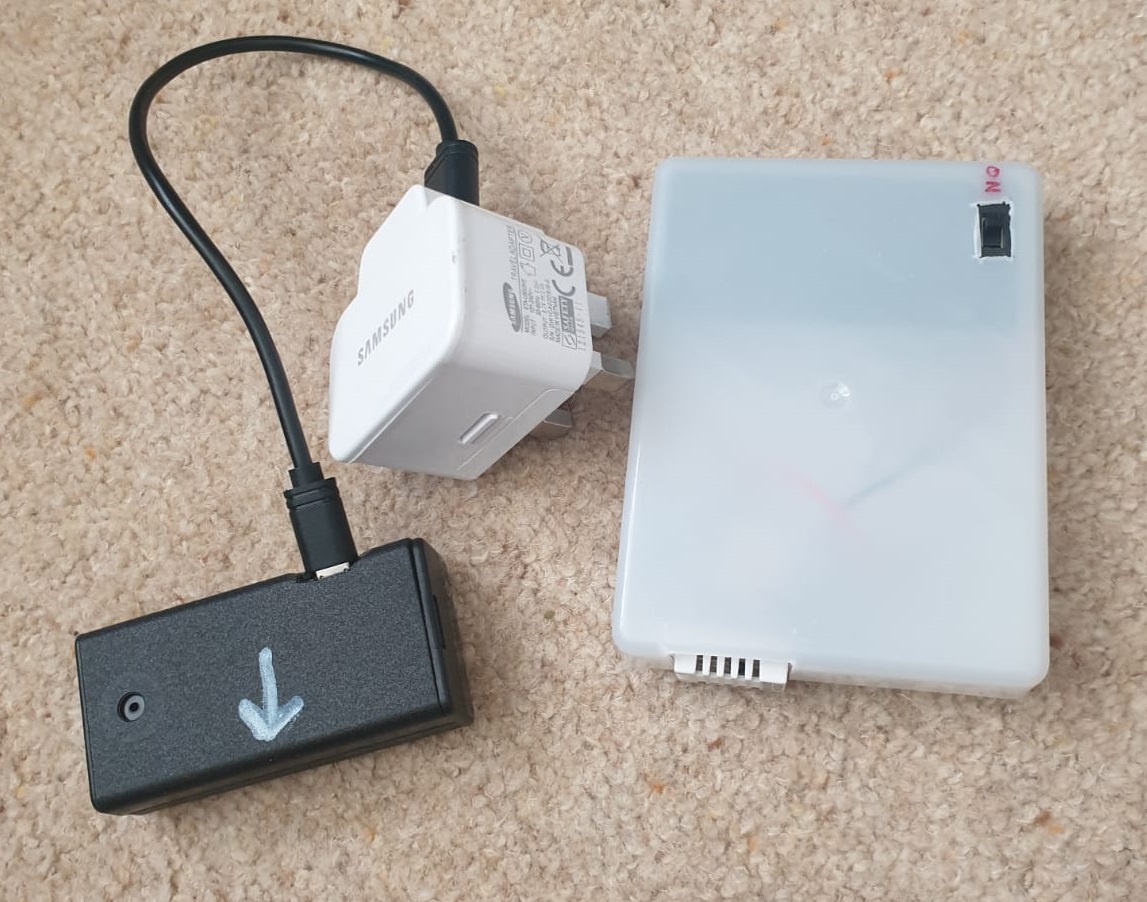
You have two boxes - a sensor unit and a hub. The sensor unit could be white or black and has a small white plastic component sticking out on one side. The hub is usually black and smaller than the sensor unit, and it always has a micro-USB socket on it. If you can’t see a socket, try opening the case as it may have shifted away from the corresponding hole.
The sensor unit takes the temperature and relative humidity readings and sends them to the hub using a radio link. The hub then uploads the data to the internet. To make this work, you need to tell the hub the password for the guest wifi network in your building.

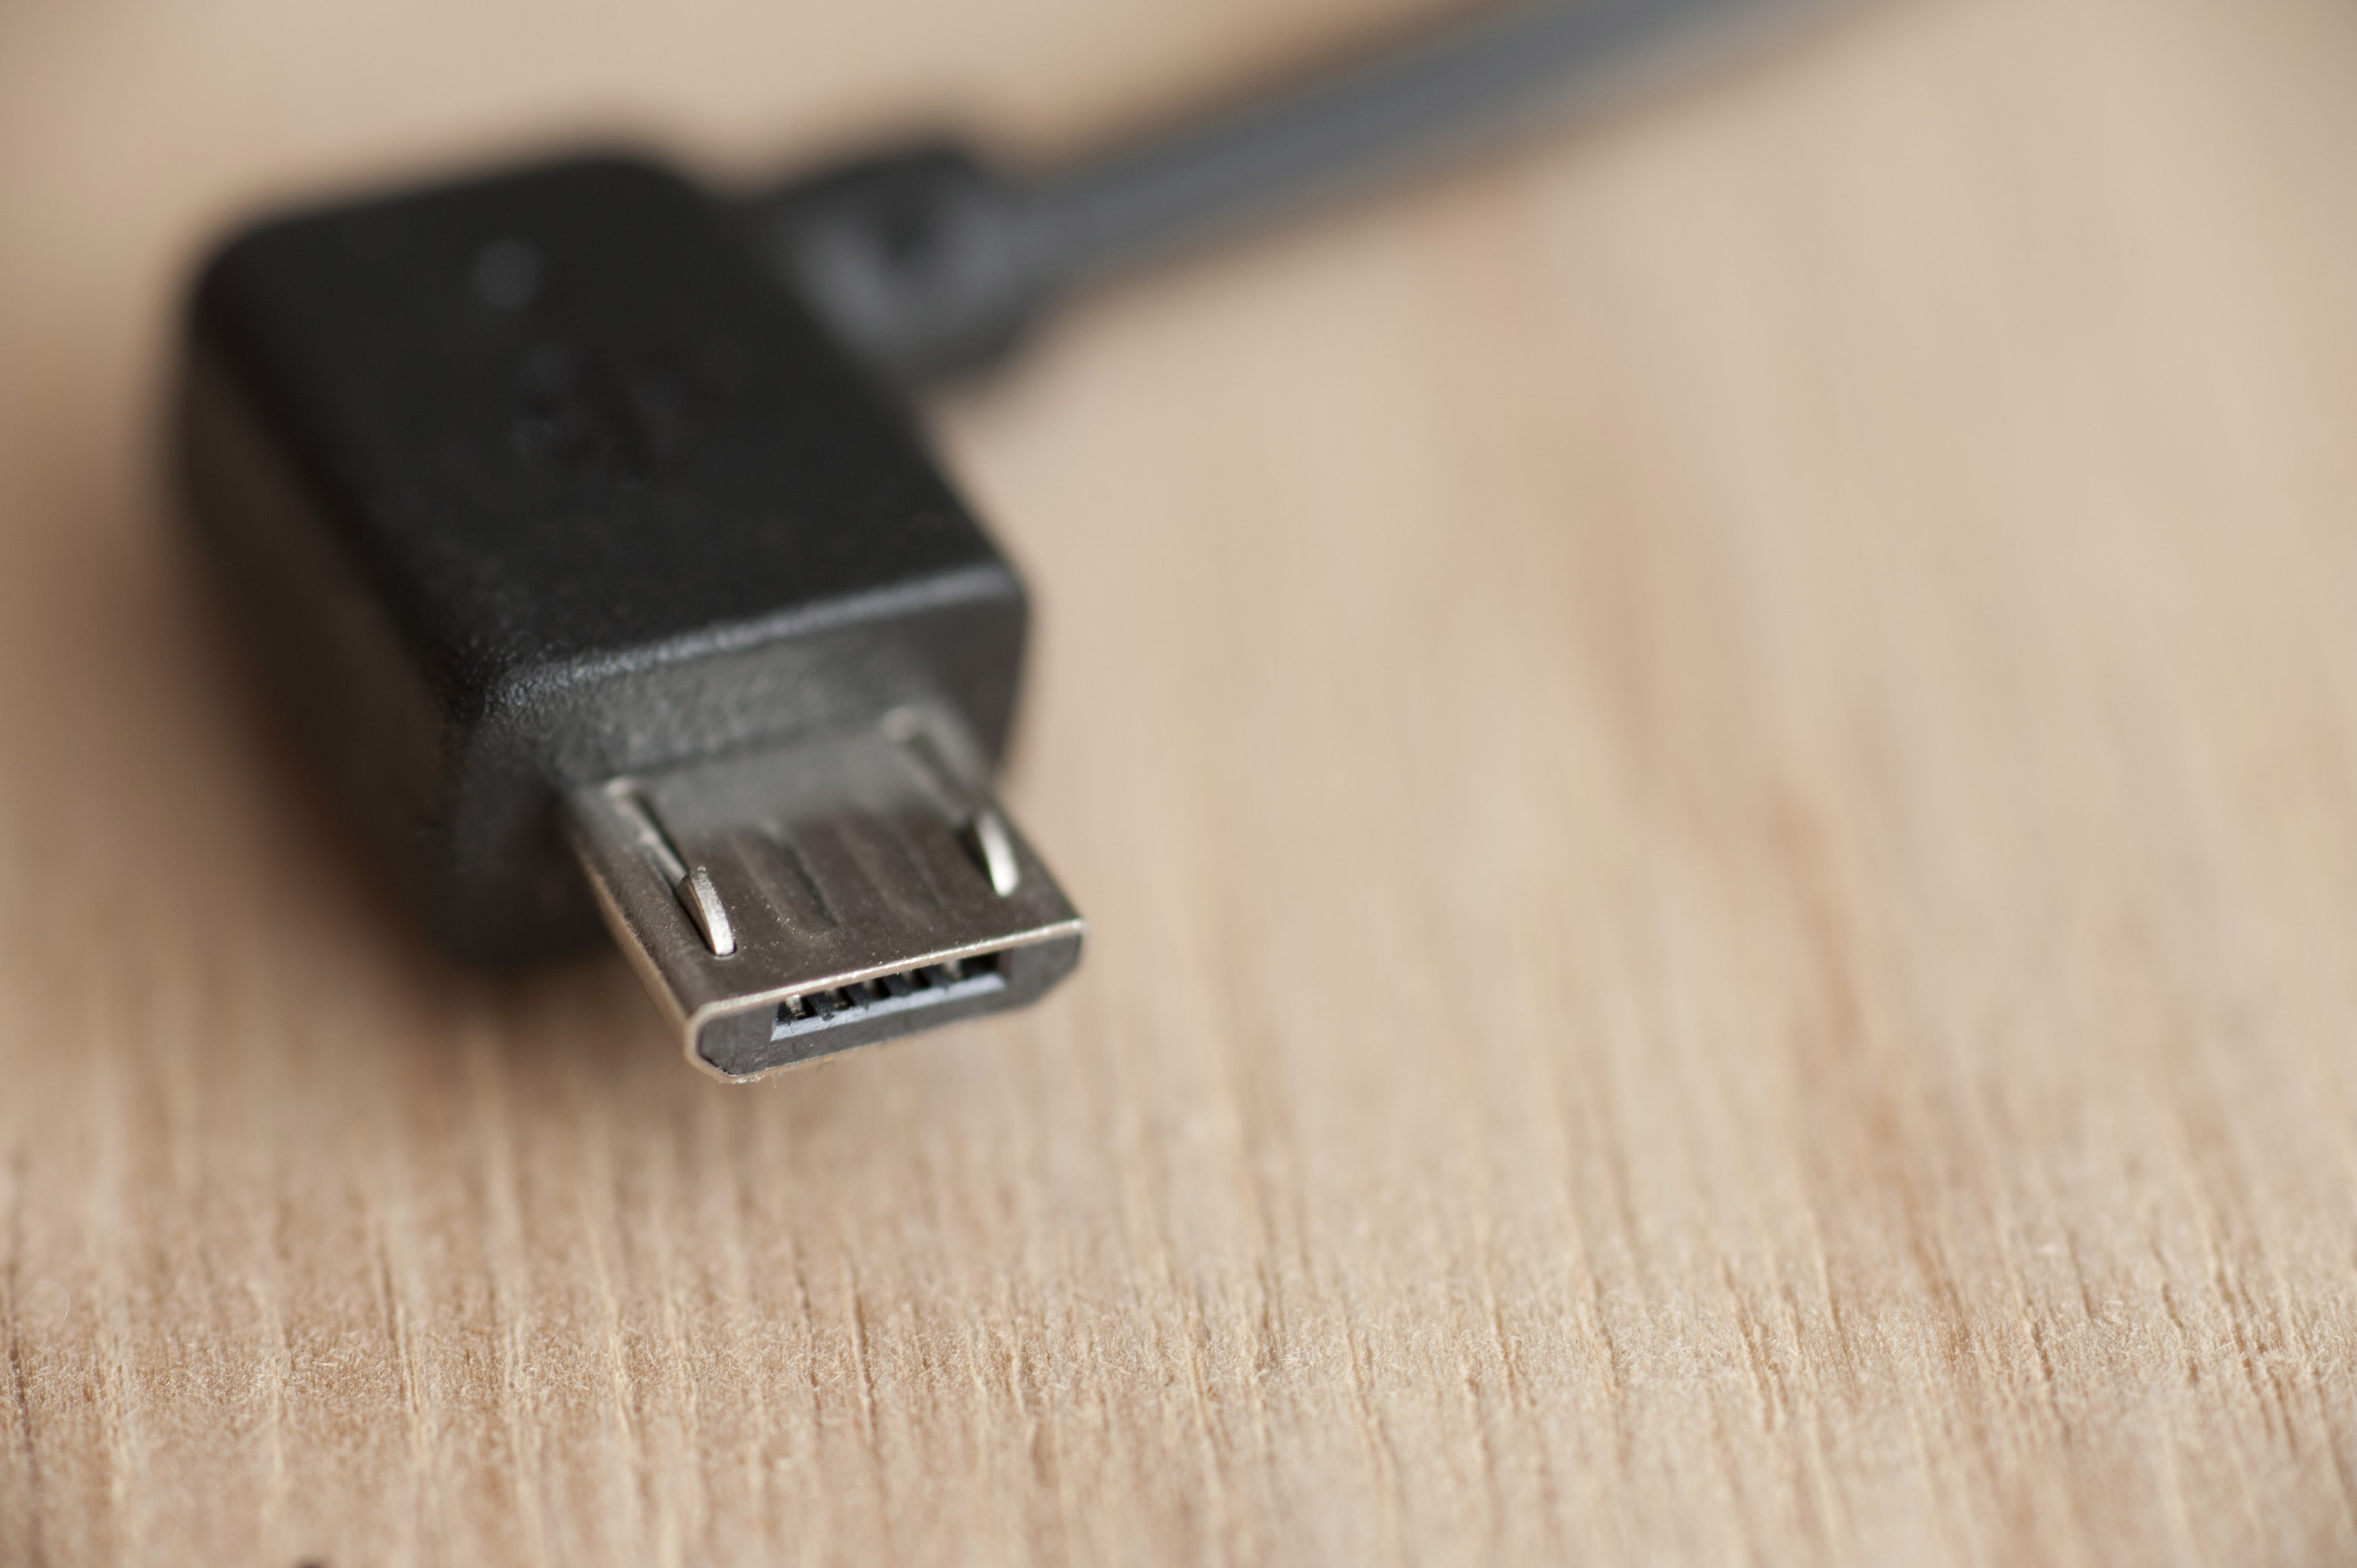
The sensor unit is battery-powered, but the hub has to be powered from an electrical or USB socket. It uses the older style “micro-USB” connectors like for older Android phones. We don’t supply them because they would greatly increase our postage costs and most people have old chargers from previous phones. If you don’t have an old charger with the right connector, but do have one where the cable detaches, micro-USB cables are cheap and easy to find.

(c) freeimageslive.co.uk, licensed under Creative Commons CC BY 3.0.
Overview for technophiles
Plug in the hub
Connect your phone/tablet/laptop to the open heathackhub wifi hotspot
Visit 192.168.4.1 using your browser
Enter the SSID and password for the venue’s guest wifi network
Look on your Thingspeak feed to see that field 3 (sometimes labelled “Voltage” or “Voltage or 1”) has a recent value in it - this could take a minute or two
Turn on the sensor unit and check for a blue flashing light on the hub showing the radio connection is working
Check Thingspeak again to see data coming in - this can be after a delay
